
Recipes
Two Bay Area Sisters Teach You How to Get Serious in the Kitchen
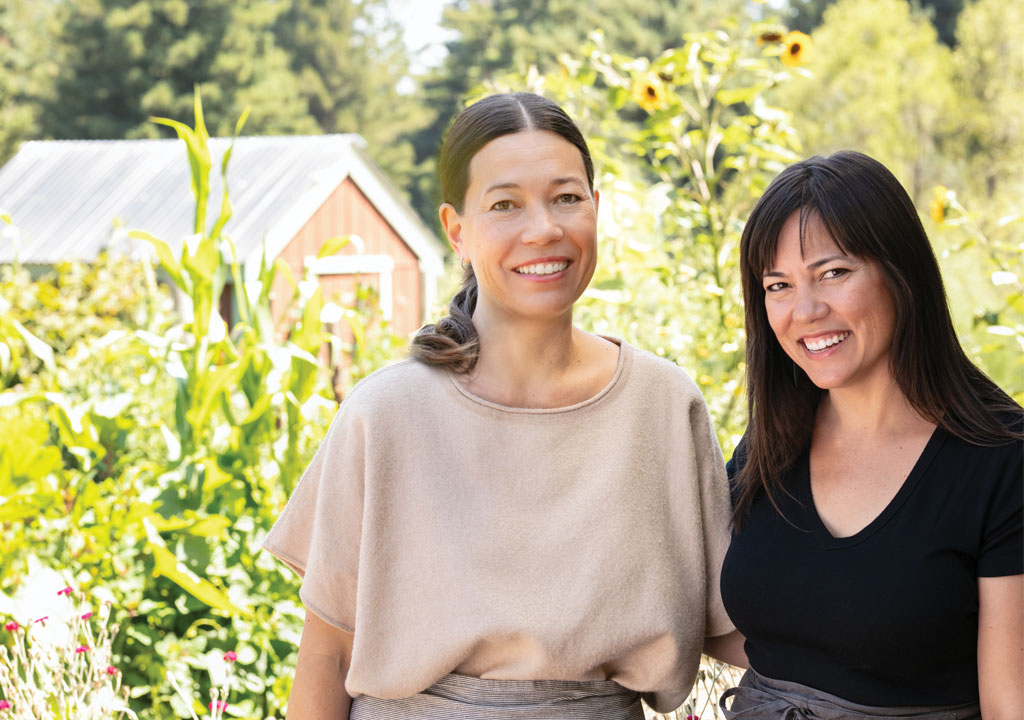 The book’s authors: Leah Su Quiroga and Cammie Kim Lin (Photo by Molly DeCoudreaux; ©(Serious) New Cook by Leah Su Quiroga and Cammie Kim Lin, Rizzoli New York, 2022)
Leah Su Quiroga, a former head chef at Berkeley’s Chez Panisse, runs a small farm in Sebastopol, California, and her sister, Cammie Kim Lin, is a serious home cook who got her start in commercial kitchens before becoming a professor and writer. Together they have created an authoritative instruction manual for cooks — young and old — who want to learn the finer points of cooking and have fun while doing it. We recently asked them about their new book, (Serious) New Cook, and the answers are nothing short of delicious.
Who is this book for? The short answer is that it’s for any new-ish cook who’s excited about really great food but doesn’t yet have the skills to cook it. Really, the impetus for writing it was to satisfy our quest for a cookbook for Kai, the oldest of our kids. By the time he entered his teens, he had aged out of kids’ cookbooks, but he found most adult beginner cookbooks a little boring. We wanted a cookbook that would be like having one of us (ideally, Leah, who is the professional chef) right in the kitchen with him, showing him what to do and sharing all kinds of interesting tips and tidbits along the way.
What does it mean to be a serious cook? Thank you for this question. We struggled a bit with the word “serious” in the title because we didn’t want to evoke stuffy or precious or pretentious. At the same time, we wanted to signal that we’re talking to cooks who are really into good food, not just someone looking for a decent pancake recipe. So, when we say serious, we mean serious about good food — eating it, learning about it and making it.
Do you have a favorite recipe from the book? The one we cook most often and every person in the family loves is definitely the Flash Fried Cutlets. The technique, which is Bolivian in origin, is absolutely brilliant as well as quick, inexpensive and adaptable. Our favorite recipe for a dinner party might be the Bricked Duck Breast Lettuce Wraps — surprisingly easy and impressive at the same time. And you serve it DIY-style, so it’s an interactive meal, which everyone loves. The most fun recipe (to make and to eat) might be the Mochi Ice Cream or the Double Dalgona Milkshake. The kids always want to make them when we get together.
Now that fall has arrived, what will you be cooking? Anything with apples, for sure. Leah has an apple orchard at her farm in Sebastopol, and Cammie likes to take her family apple-picking in upstate New York every year, so we really crank out the apple recipes when they’re in season. We make our Caramelized Apple Puff Daddy and our Crispy Potato Pancakes, a family recipe we always serve with homemade applesauce, plain yogurt and soy sauce. We also love to make the apple crisp featured in the book. It’s a recipe by Scott Peacock and the late Edna Lewis, from their wonderful cookbook The Gift of Country Cooking.
That said, most of the recipes in the book are actually seasonless in a manner of speaking. This might sound contradictory, given our commitment to seasonal cooking, but one of the things we really try to develop in new cooks is an understanding about seasonal adaptability. Serious cooks don’t just follow recipes to a “T.” They work to understand how ingredients function so they can decide when and how to make substitutions based on what’s available and delicious at any given time (at the market or in your fridge). That’s one of the things we encourage and offer guidance about in the book.
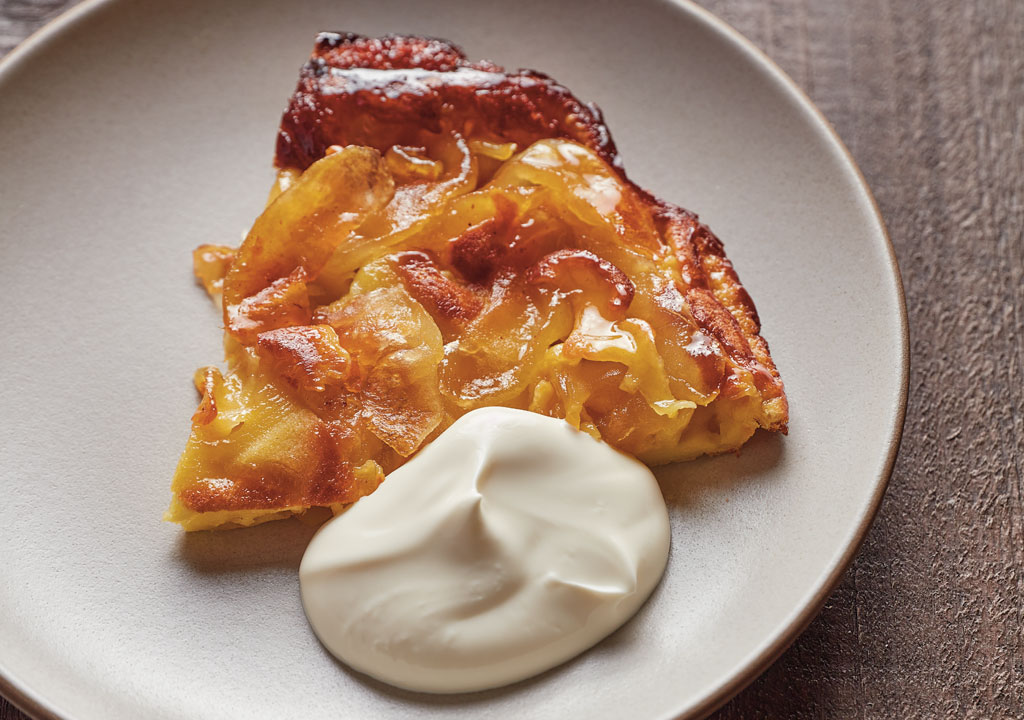
Caramelized Apple Puff Daddy
Serves 2 to 4
Excerpted from (Serious) New Cook (Rizzoli) by Leah Su Quiroga and Cammie Kim Lin
This is what you’d get if a Puff Daddy had a baby with a tarte tatin. In other words, it’s dessert you can pass off as breakfast. (Unless you add a scoop of vanilla ice cream. Then let’s just agree it really is dessert, OK?) Like in a classic tarte tatin, the apples are caramelized in butter and sugar before the crust — or, in this case, the Puff Daddy batter — is added to the pan. It bakes up looking rather like a regular Puff Daddy, but as soon as it’s done, you flip it upside down onto a plate, which deflates it but allows the caramelized apples to shine. Literally. It’s lovely on its own, but our favorite way to serve it is with a dollop of Greek yogurt or with some yogurt whipped cream, which balances out the sweetness of the caramelized apples by bringing out their natural tartness.
Ingredients
Butter, 5 tablespoons unsalted (if you only have salted, reduce the recipe’s salt to just a pinch)
Apples, 2 or 3 large (preferably a firm, tart variety like Pink Lady or Granny Smith), peeled and cut into ⅓-inch-thick slices
Sugar, ½ to ⅔ cup (depending on how sweet or tart your apples are and how strong your sweet tooth is)
Salt, 1 teaspoon plus a pinch
Whole milk, ¾ cup, slightly warmed (15 seconds in the microwave or a few minutes sitting in a measuring cup in a pan of hot water will do the trick)
All-purpose flour, ¾ cup
Eggs, 3 large, at room temperature (warming briefly in a bowl or pan of hot tap water — perhaps alongside the milk — works well)
1. Caramelize the apples Melt the butter in your skillet over medium-high heat. Then, add the apples, sugar, and a pinch of salt, stirring constantly as the sugar dissolves and the apples begin to release their juices. Continue cooking, stirring frequently, until the apples become soft and translucent, 15 to 20 minutes, depending on your apple variety. The consistency of the caramel will change throughout the cooking process. Ultimately, you want it to become a thick, golden-brown syrup. If it gets thicker than that, add a squeeze of lemon juice or a splash of water to loosen it up. Remove from the heat.
2. Make the batter Preheat your oven to 400°F. (And if it hasn’t come all the way up to temperature by the time the batter is ready, that’s OK!) Then, into a blender, put the milk, flour, remaining 1 teaspoon salt, and eggs (in that order, to reduce the amount of flour that gets stuck to the blender cup), and pulse a few times, until nearly smooth. Scrape down the sides to make sure all of the dry ingredients have a chance to blend in, and pulse a few more times. The batter should be thin, frothy, and free of lumps. Set it aside to rest for at least a few minutes, until the apples are done.
3. Bake Slowly and evenly pour the batter over the top of the caramelized apples. Place in the oven (even if it hasn’t preheated all the way). Avoid opening the oven door for at least 15 minutes. Then, you can sneak a peek. Keep baking until it is golden brown and puffy all over, about 15 to 25 minutes total, depending on your pan and your oven.
4. Serve As soon as you remove the Puff Daddy, flip it over onto a large plate or cutting board. If your pan is well-seasoned, it shouldn’t stick; if it does, you can use a knife or spatula to help loosen it from the pan. (Another set of hands helps!) Serve warm.